
Run Home Assistant on Docker with Synology NAS
Find out how you can easily run Home Assistant (opens in new tab) on a Synology NAS (opens in new tab), for connecting and creating automation for smart (or not so smart) devices in your home and keep it within your four walls.
( Photo by Luca Bravo (opens in new tab) )
When I think about the Internet of Things and Home Automation I would consider myself a cautious optimist in the area. I am very much intrigued about the possibilities offered, but I also try to keep an eye one for averting misuse and security nightmares.
There are a ton of horror stories out there about all sorts of mishaps, ranging from kid tracking devices open for the general public (opens in new tab) to more recent Tesla’s Powerwall security shenanigans (opens in new tab). We even have an obligatory Internet of Shit (opens in new tab) Twitter handle coming out with shuddering stories daily.
Getting DDoS’d by my cats - whose dumb idea was this cat flap? pic.twitter.com/bRDWyJYr1o (opens in new tab)
— Norm Driskell (@n0rm) September 6, 2019 (opens in new tab)
But that’s more of a “you’ve been warned, proceed at your own peril” preface to this article, in which I explain how you can set up and run a Home Assistant (opens in new tab) instance in your home network. It’s an open-source, home automation software that comes with a ton of ready to use integrations helping you connecting and automating your devices. It also comes with its virtual assistant (opens in new tab), meaning you can do text and voice control without having to send that data out to one of the big players in this space (Google, Amazon, Apple etc…). Let’s do this!
My Network Setup
Before I begin, I would like to clarify some high-level information around my set up, so that you can see if the article applies to you. In my home network, I use these main following devices (Disclosure: as an Amazon Associate I earn from qualifying purchases):
- My Internet Provider’s WAN Router configured in bridge mode.
- A Fanless PC acting as the router & firewall, running Pfsense (opens in new tab)
- A Ubiquiti Wireless Access Point (AP-AC-LR (opens in new tab))
- A Synology NAS unit (DS218+ (opens in new tab))
It has been a while since I have downgraded my ISP’s router to bridge mode and moved to a dedicated fanless, low power PC for routing and firewall capabilities and I have never regretted it. Pfsense is powerful and comes with plenty of additional packages for controlling, monitoring and locking down the network from a security perspective. Most notably, pfBlockerNG (opens in new tab) with feed-based malware and malicious IP block automation.
I also recently updated from an old Asus router (which was running in Wireless AP mode only) to the Ubiquiti AP and so far the wi-fi performance is far more stable. Furthermore, you can easily get a Unifi Controller up and running to manage and monitor your access point and network. There’s a Docker image (opens in new tab) for this as well, and an excellent article (opens in new tab) to get you off the ground too.
Finally, the NAS has been a permanent fixture of the house for a while now and it’s been invaluable for backing up and other purposes. Such as the one we will demonstrate now.
Install Docker on Synology
For models that support it (such as my one) the installation is a breeze. The Docker package (opens in new tab) will be available in your NAS’s Package Center, where it can be installed from.
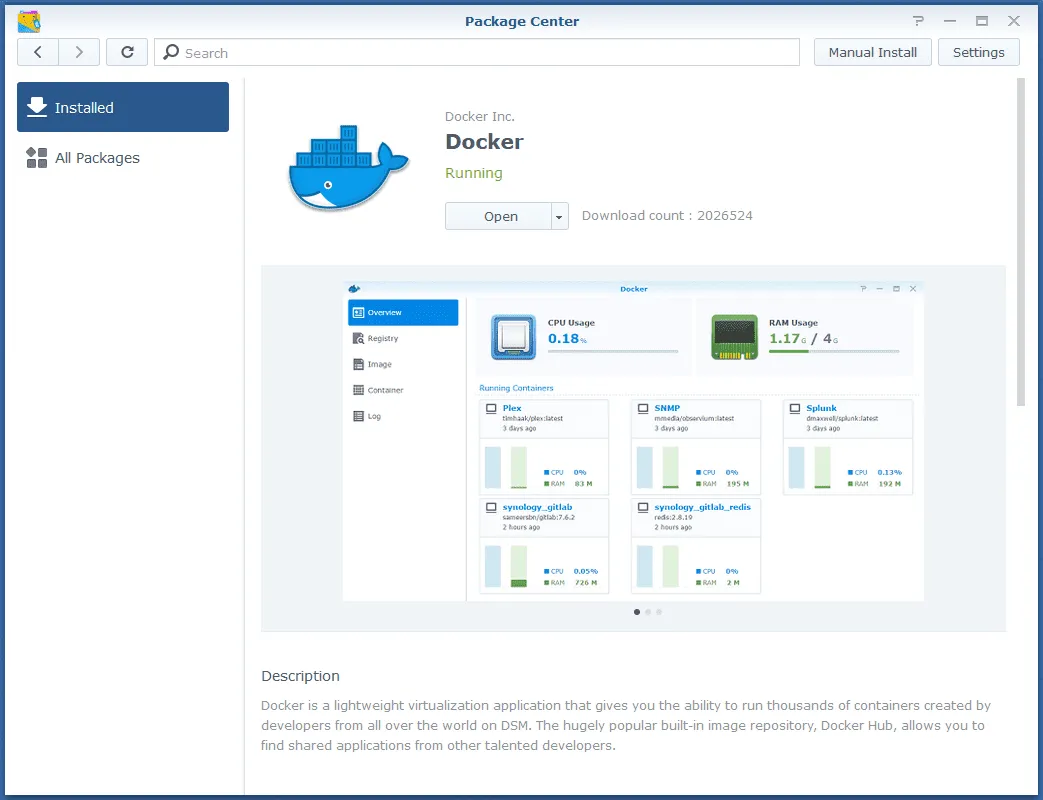
DSM Package Manager
Install Home Assistant via Docker
This is straightforward too, given that it’s fully documented on the Home Assistant webpage: check it out (opens in new tab).
I didn’t hit any snags here, although I have some advice:
- Added a memory limit to 1GB, mainly as a precaution. This software is designed so that it can run on Raspberry Pis so I am pretty sure the NAS can take it!
- I have added another mount for my SSL certificates as I wanted to configure it using proper Let’s Encrypt certificates. You don’t need to do it now. It’s fairly easy to stop and re-start the container with the additional mount when you are ready for that (by reading the next section).
- If you have the NAS Firewall enabled, remember to open up port TCP 8123 which is where the Home Assistant web interface runs. This is also true if you have other firewall appliances running that might block access.
Once the container is up and running, you can navigate to http(s)://<your DSM IP address>:8123 where you will have to complete the registration procedure for your admin account.
Optional - Secure Home Assistant with SSL / Let’s Encrypt
This may not be something everyone likes (or wants) to do: for my home network setup I use a real domain name for each service. The main benefit of this is that I can create real certificates using Let’s Encrypt and deploy them so that when I access the Home Assistant, the Synology DSM, the Unifi Controller etc… I am greeted by a reassuring padlock icon in my browser.
Given that domain costs nowadays are negligible, I don’t see why I shouldn’t do it! Equally, browsers are becoming (and rightly so) increasingly paranoid about self-signed certificates and will pester you into exhaustion - unless one starts adding exceptions or workarounds which do not bode well with my self-diagnosed OCD.
The way I do it is very similar to what I discussed in my earlier article around adding Commento to this blog (opens in new tab): to recap, I used the dns-01 challenge to obtain a certificate without having to expose webservers or opening ports to the world, which is something that I definitely don’t want to do on my home firewall. The DNS challenge relies on the ability to place a specific TXT DNS record by the certificate script - meaning that I will also rely on the Cloudflare API to do that in this scenario as well.
It is worth noting that the dns-01 method means that I’ll have to leave the Cloudflare Global Key on the server … in this case, my Synology device: if someone can get to the key, they probably also have gotten to all of my other data which would be a slightly bigger issue anyway.
Differently than before, I decided to use Docker here, mainly because installing the certbot package directly on the Synology host is possible but fiddly (opens in new tab). Instead, I can download the correct Docker image (for my situation that is certbot/dns-cloudflare (opens in new tab)) on the NAS, then schedule a task on the Synology Task Scheduler (which can be found in the Control Panel).
First, let’s get the Docker image: go to Registry and search the above image (or the one that works for you, bearing in mind that some of the setup tasks will differ if you are not using Cloudflare), then download it so that it’s available in the system.
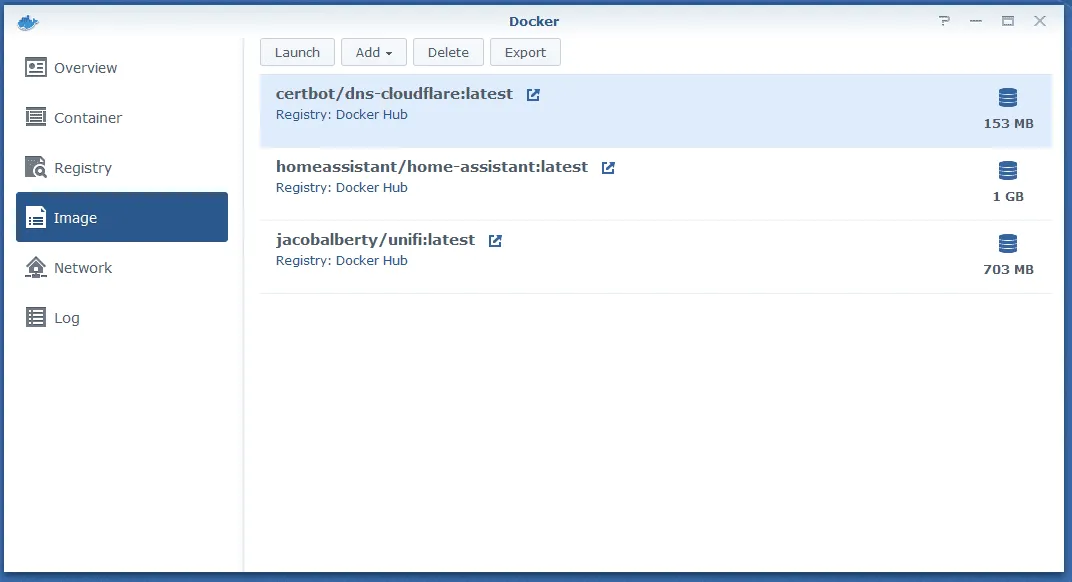
Synology Docker Images
We will then need to configure the Cloudflare credentials. I recommend enabling SSH on your Synology, storing these in an ini file as root, setting appropriate permissions and note down the location.
ssh -p <PORT> <YOUR SYNOLOGY USERNAME>@<YOUR SYNOLOGY IP>
sudo -i
touch cloudflare.ini
Then add your data in the file (same as explained here (opens in new tab))
# Cloudflare API credentials used by Certbot
dns_cloudflare_email = cloudflare@example.com
dns_cloudflare_api_key = 0123456789abcdef0123456789abcdef01234567
Remember to set the appropriate permissions
chmod 0600 cloudflare.iniWith this in place, you can create your certificate. In the below example command, you would run a container using the certbot/dns-cloudflare:latest image we fetched earlier. A few notes:
--rminstructs docker to delete the container once it has exited (we are running it one-off to issue the certificates)- the
-vflags are mapping a couple of host locations. The first one maps your Synology/volume1/docker/shared/letsencryptlocation (assuming you have already created a shared folder calleddockerin the control panel and then created the/shared/letsencryptfolders to the container’s/etc/letsencryptlocation. This is where the container will output the generated certificates before exiting. The second mapping allows our container to access thecloudflare.inicredentials file we created before at the/cloudflare.inilocation. You’ll notice this is referenced further down in the parameters that are passed to certbot itself.
docker run -ti --rm \
    	-v "/volume1/docker/shared/letsencrypt:/etc/letsencrypt" \
        -v "/root/cloudflare.ini:/cloudflare.ini" \
        certbot/dns-cloudflare:latest \
        certonly \
        --non-interactive \
        --rsa-key-size 4096 \
        --no-eff-email \
        --preferred-challenges dns-01 \
        --dns-cloudflare \
        --dns-cloudflare-credentials /cloudflare.ini \
        -d "*.YOUR-DOMAIN" \
        --email YOUR-EMAIL \
        --agree-tos \
        --server https://acme-v02.api.letsencrypt.org/directory
If the process completes successfully, the certificates will be available at /volume1/docker/shared/letsencrypt/live/YOUR-DOMAIN
Important: the above setup is quite insecure. Firstly, we are running the docker container as root. In this case, I am trusting the
certbot/dns-cloudflareimage to not do anything nasty (such as sending my cloudflare credentials to somewhere/someone nasty). Secondly, I’m outputting the certificates (and their private keys) in a shared Synology folder - the idea being to mount that folder for other containers (such as our Home Assistant one) for these to use the certificate. In my scenario, I am the sole user of the Synology device so I am not overly bothered here - if there are multi-user scenarios then you may want to think about a better approach.

Photo by Lenin Estrada (opens in new tab)
Before moving ahead, make sure you set up a Synology Task to regularly check and renew your certificate, which is only valid for 90 days.
Head to Control Panel > Task Scheduler and create a new task. Set it to run as root weekly on weekends or similar - I do like to set these task to run on weekends so that they have a good chance to ruin my relaxation days when they execute. The script will look something like this
#!/bin/bash

docker run --rm \
    -v "/volume1/docker/shared/letsencrypt:/etc/letsencrypt" \
    -v "/root/cloudflare.ini:/cloudflare.ini" \
        certbot/dns-cloudflare:latest \
        renew \
	--agree-tos \
        --keep-until-expiring \
        --non-interactive
It will read the certificate configuration that was saved by the other container instance and attempt to renew when it’s close to expiration.
You can now go back to your Home Assistant docker image configuration and edit it so that it maps your /volume1/docker/shared/letsencrypt/live/YOUR-DOMAIN folder to the container’s /certificates mount point, which is the location where Home Assitant will look for certificates to use. Please note that you will want to also restart the container when the certificates are renewed.
Do remind to also add the certificate configuration to your Home Assistant configuration.yaml and secrets.yaml files
http:
  base_url: !secret hass_base_url
  ssl_certificate: !secret ui_certificate
  ssl_key: !secret ui_certificate_key
configuration.yaml
# General
hass_base_url: YOUR_URL:YOUR_PORT

# Certificates
ui_certificate: /certificates/fullchain.pem
ui_certificate_key: /certificates/privkey.pem
secrets.yaml

Photo by Franck V. (opens in new tab)
1st Automation & Conclusions
It’s still early days and I have to get some more smart sensors/devices in places to make this truly useful.
There is one thing I already use it for. I have a few security cameras and I don’t want them to record when I am at home, but I do want them to automatically start recording (or rather, enable motion and sound detection based recording) when I leave.
Up until now, I have tried to use Synology Surveillance Station’s own Home Mode and Geofences to achieve this and it simply didn’t work reliably. With Home Assistant I was able to whip something up pretty quickly in the following way:
- Integrate the Unifi Controller into Home Assistant (can be done via the UI very quickly): this caused the devices connected to wifi to appear as entities in Home Assistant.
- Map my ‘Person’ entity to my mobile device entity identifier
- Created a ‘Household’ group of which I am one of the persons
Then on the Synology Surveillance Station, I generated two actions in the Action Rule section
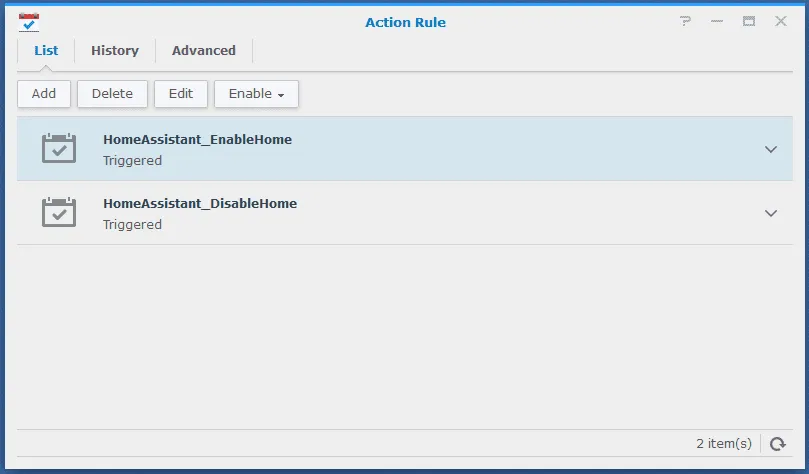
The two actions are exposed via webhooks, and they simply flip the Home Mode status. The Home Mode status controls the rules of recording and detection which I already configured in Synology SS.
Back in the Home Assistant configuration.yaml file, you define the webhooks so you can use them for automation.
rest_command:
  ss_enable_home:
    url: !secret enable_home_mode_webhook
    method: get
  ss_disable_home:
    url: !secret disable_home_mode_webhook
    method: get
And in secrets.yaml I have defined the two variables and copied the webhook URLs that Synology generated when I created the Actions.
Finally - I defined the automation in the UI - here’s the generated configuration
- id: '1'
  alias: Disable Home Mode
  description: ''
  trigger:
  - entity_id: group.household
    for: 00:00:10
    platform: state
    to: not_home
  condition: []
  action:
  - service: rest_command.ss_disable_home
- id: '2'
  alias: Enable Home Mode
  description: ''
  trigger:
  - entity_id: group.household
    for: 00:00:10
    platform: state
    to: home
  condition: []
  action:
  - service: rest_command.ss_enable_home
In a nutshell - we only need two triggers on state transitions
- When
householdtransitions from any state tonot_home(with a delay to avoid false triggers), then invoke thess_disable_homewebhook that turns Home Mode off. - When
householdtransitions from any state tohome(with a delay to avoid false triggers), then invoke thess_enabled_homewebhook that turns Home Mode on.
The best thing is that Home Assistant takes care of figuring out if the “household” is “at home” or not because it gets that information from the Unifi controller who tracks whether my phone is connected to the wifi, or not. The main idea here is that you declare your integrations, automations, groups etc… and then Home Assistant itself takes care of the heavy-lifting.
My above example is fairly simple of course. I am sure this could be improved or made more sophisticated once additional sensors/devices are connected to the assistant.
Thanks for reading! If you enjoyed the article and you haven’t already, have a look at the other parts of this series:
- Part 1: Run Home Assistant on Docker with Synology NAS (this article)
- Part 2: Zigbee Sensor Network with Home Assistant (opens in new tab)
- Part 3 : Home Assistant data persistence and visualization with Grafana & InfluxDB (opens in new tab)
- Part 4: Home Assistant and Telegram Notifications with a Chatbot (opens in new tab)
- Part 5: Home Assistant, Google Assistant & Cloudflare (opens in new tab)